I enjoy using the Instant Pot to make quick, delicious meals. These are very easy to create and the flavor is amazing.
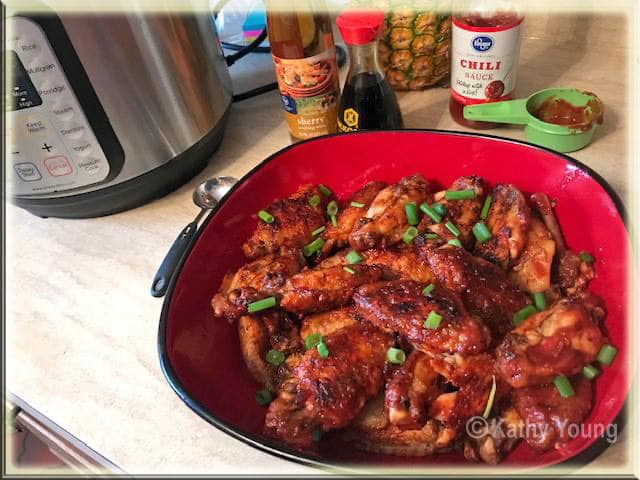
I enjoy using the Instant Pot to make quick, delicious meals. These are very easy to create and the flavor is amazing.
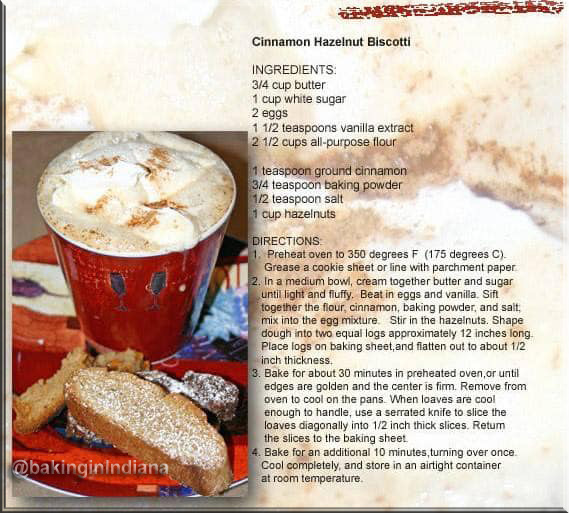
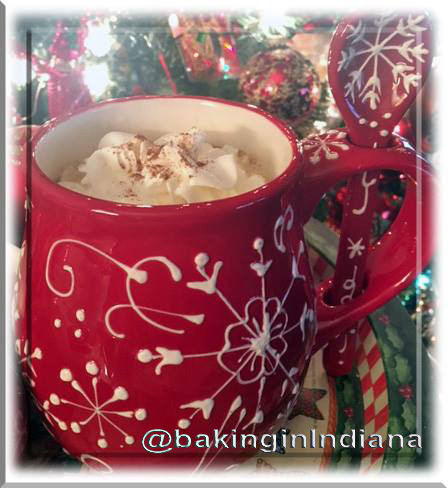
Cinnamon Hazelnut Biscotti and Pumpkin Spice coffee – I make this combo to give as a gift when a lady friend needs a pick me up – I buy cups and saucers (matching) at yard sales throughout the year and save them for gifting with these treats – the biscotti is perfect for dipping in the hot drink.
The photo is mine; the recipe was given to me by a college friend, 30 years ago.
I like to scrapbook my recipes that I make over and over. I laminate the pages or put in sleeves. I do not have this typed up as I just pull this sleeve out, and stand on my book stand when creating from it.
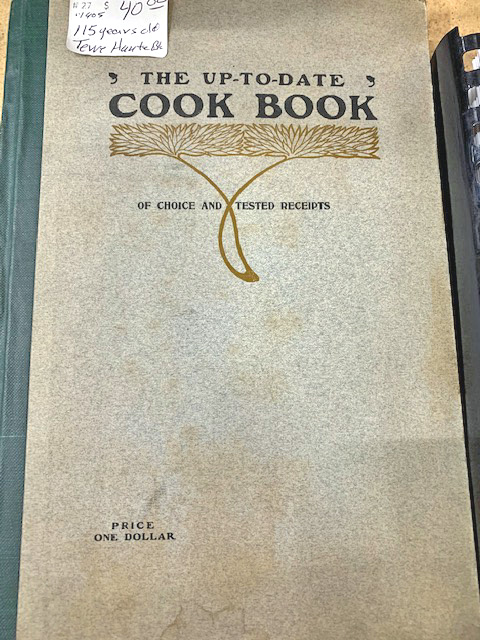
I collect vintage cookbooks – this is a fun discovery
Mysteries? – these sound interesting – a lot of work, but interesting – Page 198 in the ebook form – (I copied the recipe to the side of that from the ebook for better viewing)
I discovered this hidden gem at the antique mall yesterday – I could not bring myself to be comfortable with the $40 price tag due to the condition, so I searched it real quick online and found an ebook form for free – Just for those who want to see the recipes and see their tried and true remedies for home. If you download the ebook – the pages are bigger, crisper, and can be printed.
Here is the link for the 243 page book and for you cookie buffs, those recipes start on page: 146
This looks to have been made for/by Terre Haute Indiana residents-
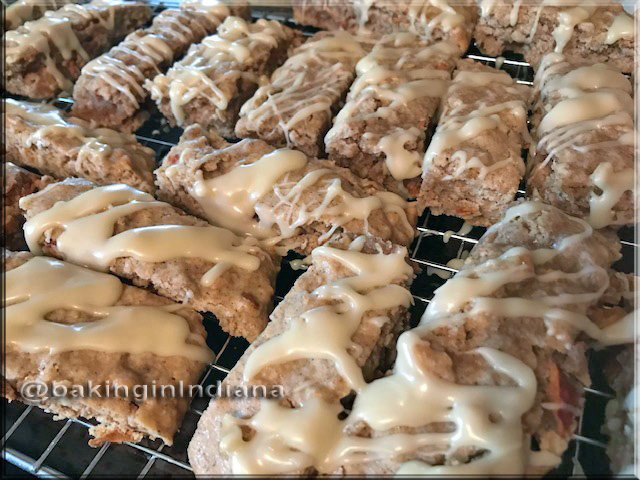
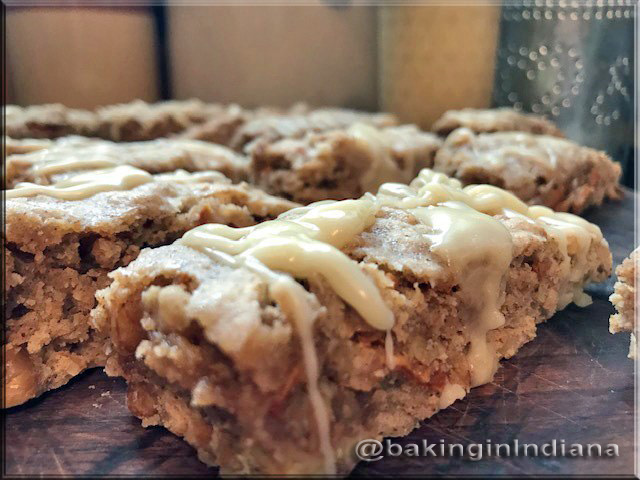
Apple Maple Walnut Biscotti
(crunchy on the outside and soft on the inside)
2 eggs
2/3 cup sugar
1/3 cup butter, melted
2/3 cup maple syrup
2 1/2 cups flour
1/2 Tbsp cinnamon
1/2 tsp nutmeg
2 tsp baking powder
1/2 tsp salt
2 cups chopped walnuts
1 cup dried apples
Preheat oven to 325 F Coat a cookie sheet with non-stick spray or use cookie liner.
In a mixing bowl, vigorously beat together the eggs, sugar, melted butter, and maple syrup. Sift in the flour, cinnamon, nutmeg, baking powder, and salt. Mix well. Fold in the walnuts and dried apples.
Form the dough into a uniform cylinder the width of the cookie sheet. Flatten to 1 inch in height. Bake in the 325 F oven for 25 minutes. Remove from the oven, and let cool for about 10 minutes.
Reduce the oven temperature to 300 F.
Using a serrated knife, slice into 1/2-inch pieces. Bake the biscotti in the 300 F oven for 6 minutes on one side, then turn the biscotti over, and bake for 6 minutes on the other side.Makes about 24 or more biscotti based on how big you cut them
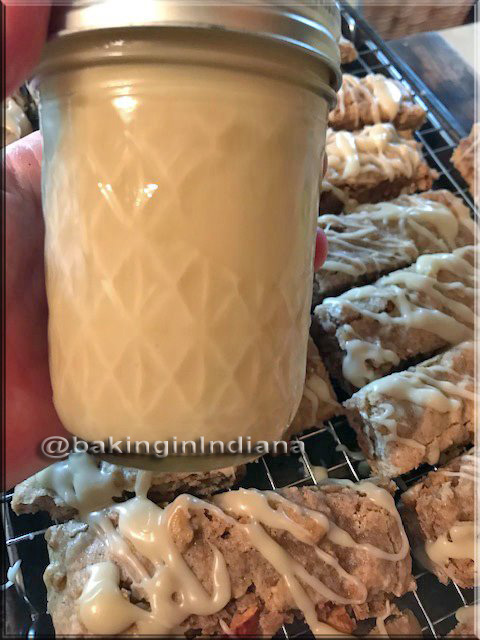
These are good on their own, and I decided to make a maple glaze to add to half of them. I like to add this glaze to Vermont Maple cookies. The jar in one of the photos shows how much is left from the recipe I will share. I store it in the fridge and use it on breads, rolls, cookies, muffins, etc.
Maple Glaze
1/2 cup butter, cubed
1 3/4 cups confectioners’ sugar
1/3 cup maple syrup
1/4 tsp maple flavoring
In a saucepan, melt butter over medium heat. Remove from heat. Gradually beat in the confectioners’ sugar, maple syrup and maple flavoring until smooth.
Drizzle over cookies, let dry completely. Store between pieces of waxed paper in airtight containers.
I use this glaze on Vermont Maple Cookies, Pumpkin chocolate chip cookies, biscotti, muffins and more.
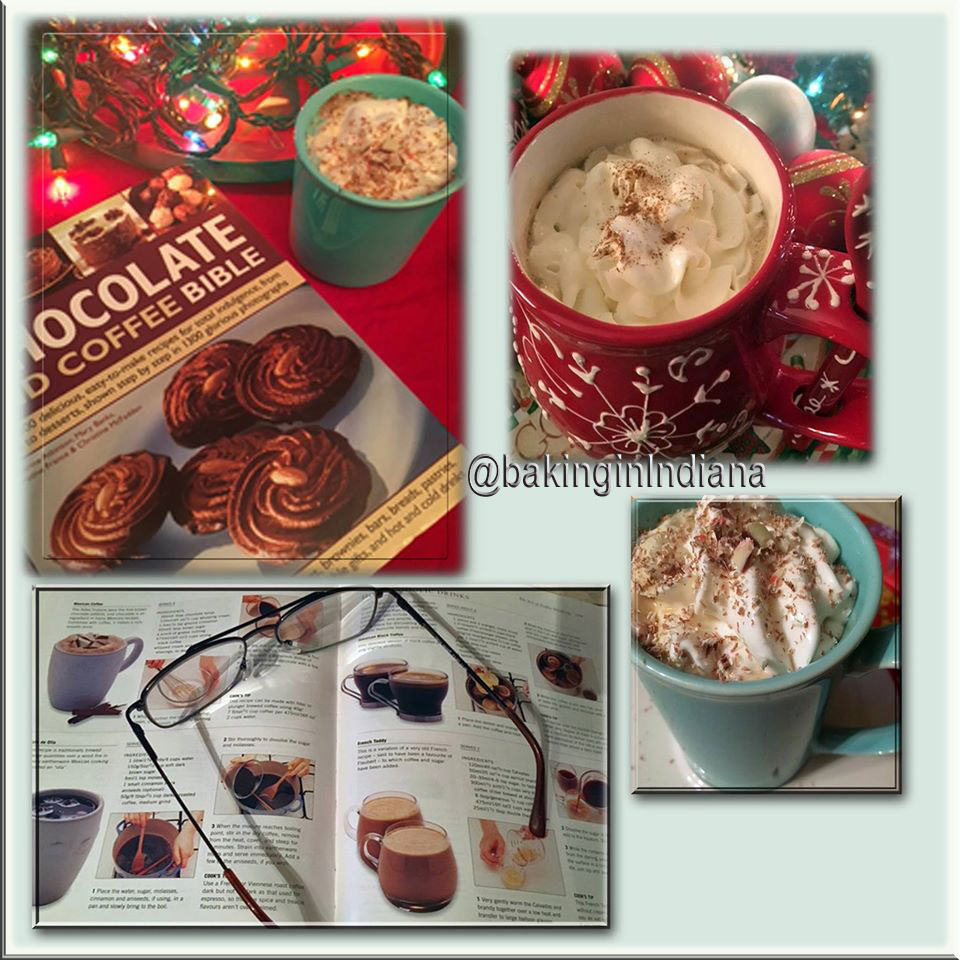
My boys bought me this chocolate/coffee book a few years ago. Now and then, I pull it out and try new recipes.
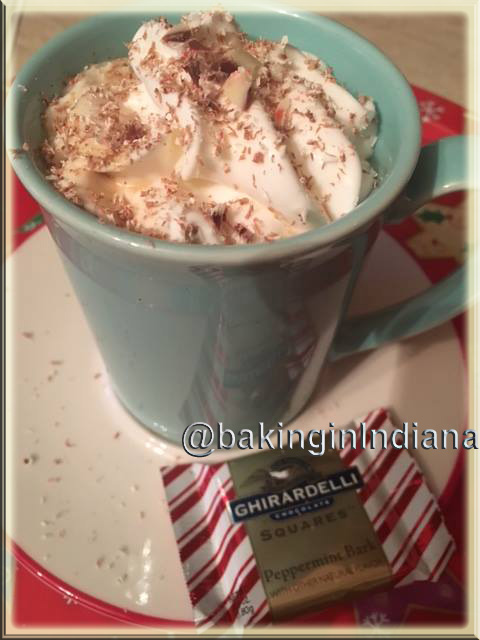
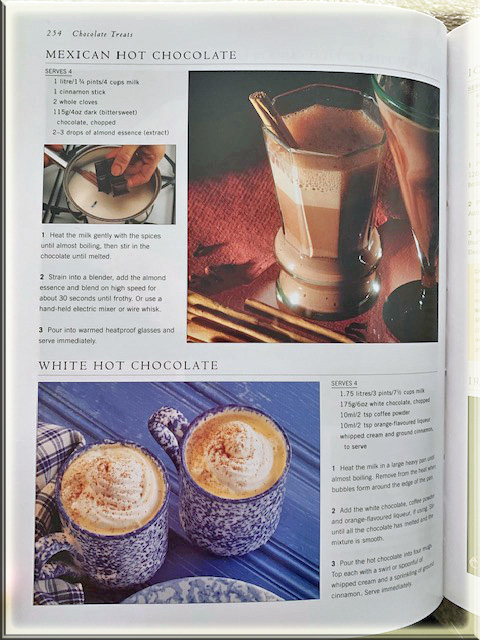
I enjoy experimenting with different drinks so this is fun for me. The one I tried this morning is called Mexican Coffee. I made the boys the Mexican Chocolate – it involves heavy cream, chocolate syrup, strong coffee, a variety of spices and cinnamon. When I made this for the boys they wanted whipped topping so I made it homemade because I don’t like the store bought stuff. For my coffee drink, I put foamed milk due to the richness of the heavy cream and chocolate.
This is yummy. Chocolate enhances the flavor of coffee and coffee brings out fun flavors in chocolate – they really compliment each other – that is why they are used together in a variety of baking recipes.
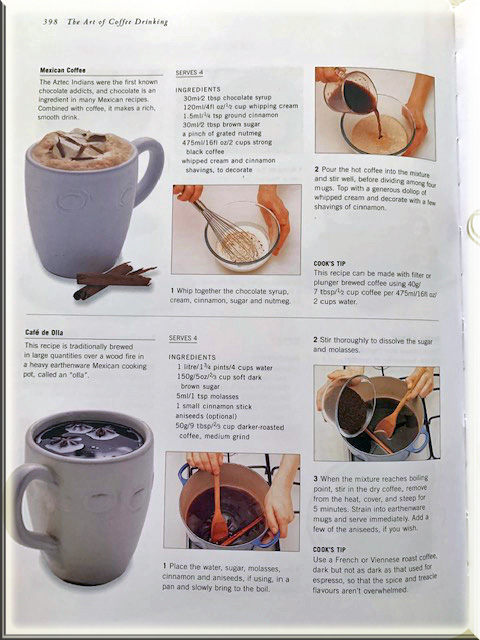
Beautiful photography and I enjoy and appreciate the step by step photos
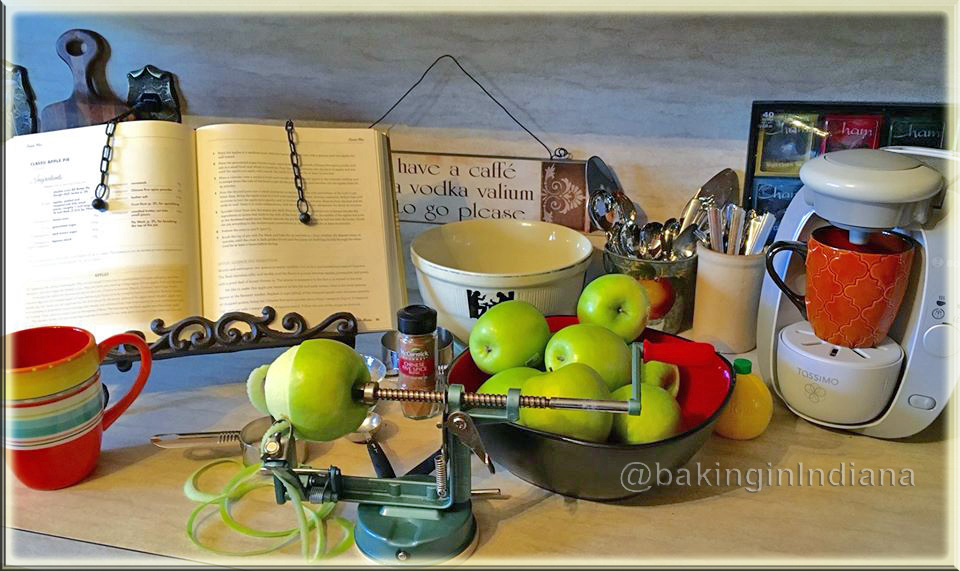
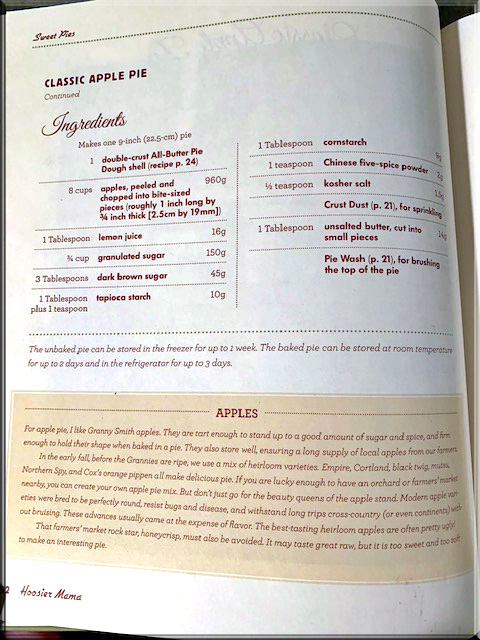
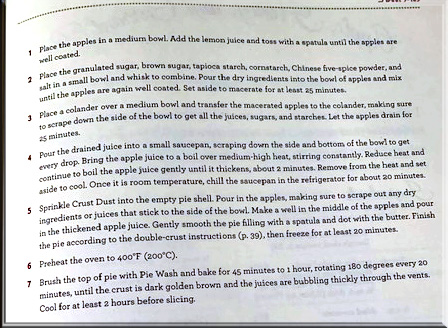
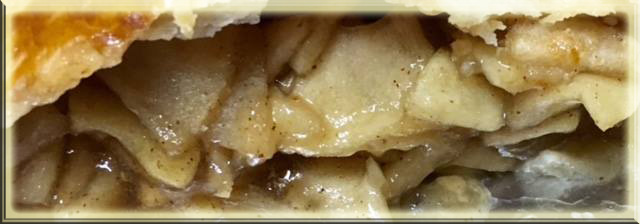
I’m not a pie baker. This is my first attempt. After making this pie, I have learned to go easy on Chinese 5 spice powder – it is very strong. I will go 1/2 tsp next time as the spice intensified after sitting over night.
The house smells delicious. I’m going to share the photo of the recipe from this book as I’m busy creating for the holidays.

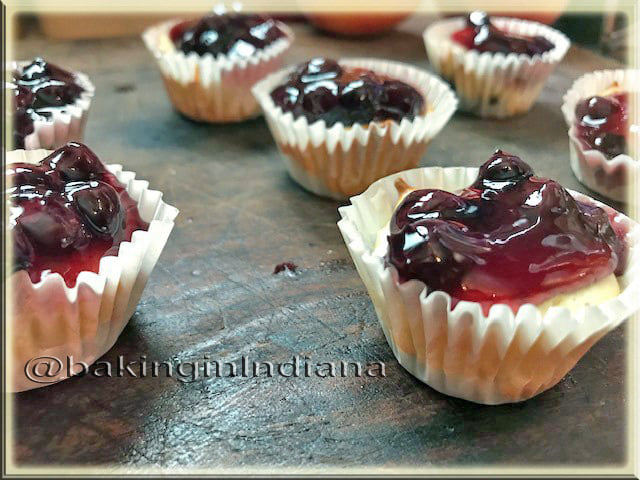
Mini cheesecakes with banana cookie crust. Remember the banana cookie recipe I shared a day or so ago? I froze some of the dough from a batch I made 2 months ago because I wanted to see how they would turn out after freezing. I just baked them for this recipe. The cookies are delicious, and did not lose any flavor. They were the crust for these mini blueberry cheesecakes. (the author of the site I share for the cheesecake, uses vanilla wafers for the crust in the recipe) So easy – you can’t stop licking the beater -Jim just licked the spoon and said, “Oh my!”
These are very easy to create. I baked the cookies first, before adding them to the cups for this recipe. Here is where you can find the recipe for the cheesecakes:
I had everything in her recipe, except the wafers. I wanted to create it without going to the store for wafers only – so I pulled out some frozen cookie dough to use in place of. I wanted to share this idea for those who see a recipe and do not have all the ingredients – it’s an idea of how to make some recipes work for you.
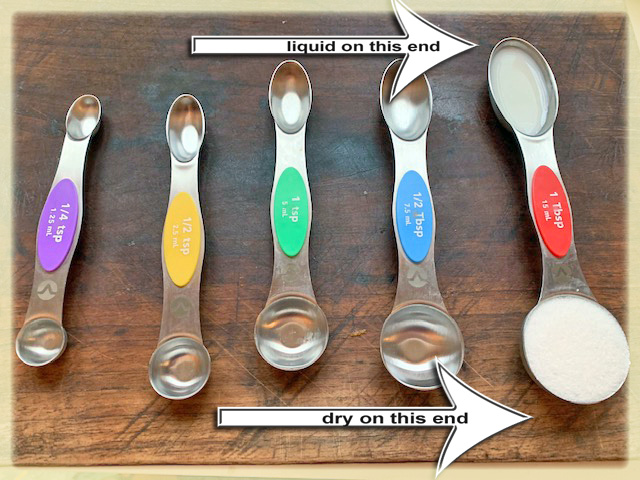
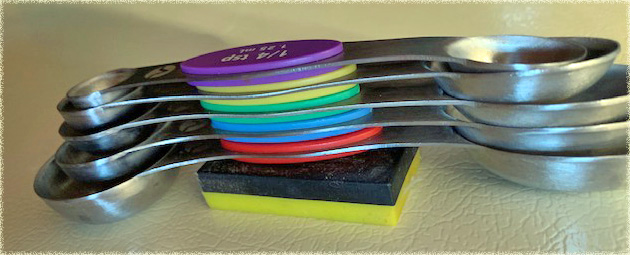
Tuesday Tip: Magnetic nesting measuring spoons – I wanted the colorful ones which did not come with the magnetic block – I used my sons science magnet instead – these are perfect for my every day baking. Instead of having to wash the measuring spoons because I had liquid in them and want to add dry – I use these. One side is for dry – one side is for liquid – makes it so much easier.
Just type in magnetic measuring spoons on Amazon – keep in mind – you want that magnetic block because the spoons need a strong magnetic to attach to while on the refrigerator

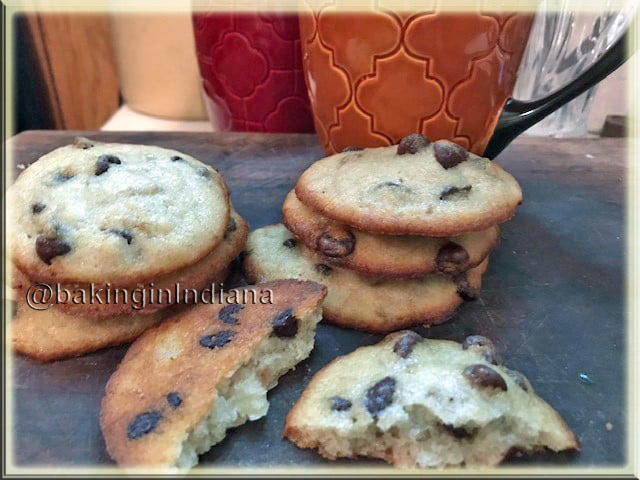
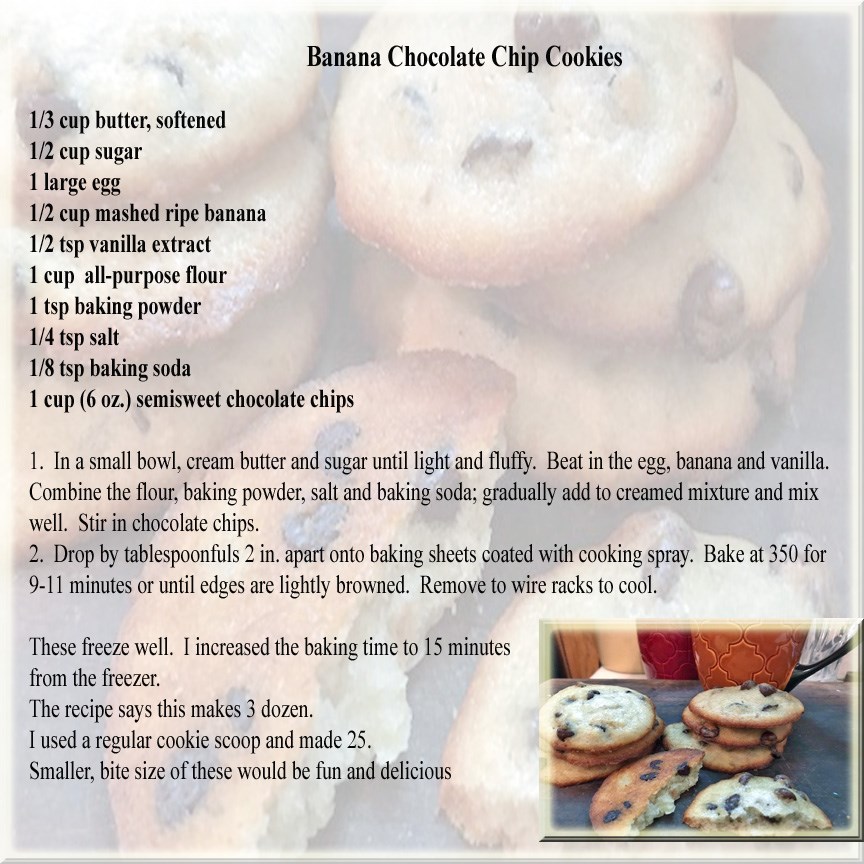
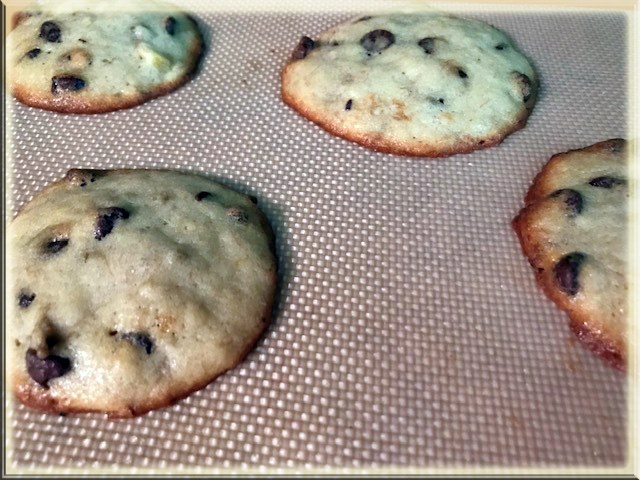
Banana Chocolate Chip Cookies
1/3 cup butter, softened
1/2 cup sugar
1 large egg
1/2 cup mashed ripe banana
1/2 tsp vanilla extract
1 cup all-purpose flour
1 tsp baking powder
1/4 tsp salt
1/8 tsp baking soda
1 cup (6 oz.) semisweet chocolate chips
1. In a small bowl, cream butter and sugar until light and fluffy. Beat in the egg, banana and vanilla.Combine the flour, baking powder, salt and baking soda; gradually add to creamed mixture and mix well. Stir in chocolate chips.2. Drop by tablespoonfuls 2 in. apart onto baking sheets coated with cooking spray. Bake at 350 for 9-11 minutes or until edges are lightly browned. Remove to wire racks to cool.These freeze well. I increased the baking time to 15 minutes from the freezer.The recipe says this makes 3 dozen.I used a regular cookie scoop (which makes the cookies a bit larger) and made 25 cookies. I then made this again using a smaller cookie scoop, and it made about 32 which I will freeze for another dessert I have planned this week.